LED Flag Project @ NU Wireless
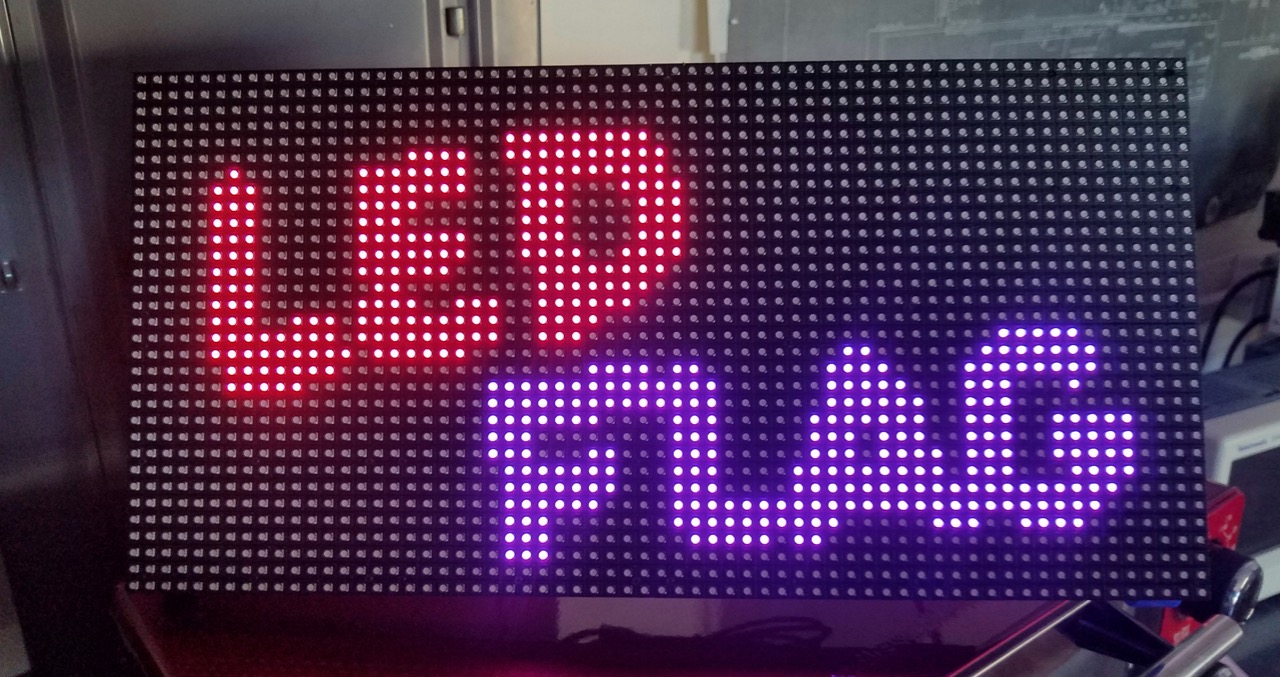
LED Flag is an ongoing project at the NU Wireless club. The objective is to control a 32x64 matrix of addressable LEDs wirelessly through a web application, with a variety of features planned. Displaying text, images, and the ability to draw only the matrix are all intended functionalities of LED Flag.
The project currently consists of the following four sections:
Flask server to handle web requests that tell the RGB matrix what to display.
Handles drawing images on the RGB matrix.
Connects the Flask server to the RGB Matrix controller.
Web Application UI for user control of the RGB Matrix
To create a new mode, create a new file in the following directory:
ledflag/controller/modes/your_mode.py
The first few lines will include these required imports:
from ledflag.controller.modes.mode import Args, Mode
from flask_socketio import SocketIO
from rgbmatrix import RGBMatrix, graphics
Args and Mode are the base classes for your new mode and the arguments it takes.
SocketIO can be used to push messages directly to clients. For example, notifying them that a new set of pixels has been drawn.
RGBMatrix and graphics are used for actually controlling the LED matrix. This includes setting pixels to a specified color, drawing shapes, and displaying images.
You can read more about how to use it on the rgbmatrix GitHub page.
Begin by creating a class (which inherits from Args) that represents the parameters your mode needs in order to run.
In this example, we are creating a "scrolling text" mode that will display the user-specified text on the LED matrix and
scroll it across the screen. Therefore, it takes the text the user wants to display and the size to display it at.
class TextArgs(Args):

    def __init__(self, text: str, size: int):
        """
        :param text: The text to display on the LED Flag
        :param size: How large the text should be
        """
        super().__init__()
        self.text = text
        self.size = size
An instance of this class will be passed to your mode when it runs.
Next, to create the mode itself, make a class that inherits from Mode.
Its constructor takes the RGBMatrix that you will use to manipulate the display. It also takes the SocketIO instance,
which may optionally be used to communicate directly with clients (more on this later).
Finally, where the magic happens: the run method. This is the only required method for your class.
It is called by the controller any time an instruction that invokes your mode is received.
This means both when the controller is switching to your mode from another mode and when further instructions are
received (such as new text to display).
It is passed your previously defined arguments and **kwargs — this is important!
kwargs['free']() can be called to determine whether another instruction is waiting. If there is no awaiting instruction,
free will return true; otherwise, it will return false. Thus, it should be used in place of any otherwise infinite loop,
such as continually scrolling text.
If you use while True to make an infinite loop, your mode will block all other modes from executing—so make sure to use free!
class TextMode(Mode):
    """
    Allows a user to display text that scrolls across the LED Flag.
    """
    def __init__(self, matrix: RGBMatrix, socketio: SocketIO):
        super().__init__(matrix, socketio)

    def run(self, args: TextArgs, **kwargs):
        """
        Displays and continually scrolls the text given by the TextArgs
        """
        free = kwargs['free']
        self.matrix.Clear()
        offscreen_canvas = self.matrix.CreateFrameCanvas()
        font = graphics.Font()
        font.LoadFont("/home/pi/LED-Flag/ledflag/ledflag/controller/fonts/7x13.bdf")
        color = graphics.Color(76, 245, 141)
        pos = offscreen_canvas.width
        my_text = args.text

        while free():
            offscreen_canvas.Clear()
            text_length = graphics.DrawText(offscreen_canvas, font, pos, 19, color, my_text)
            pos -= 1
            if pos + text_length < 0:
                pos = offscreen_canvas.width
            offscreen_canvas = self.matrix.SwapOnVSync(offscreen_canvas)
            sleep(0.05)
In this example, kwargs['free'] is assigned to free for readability. The parameter args.text is used in the call
to graphics.DrawText, the built-in method for drawing text on the LED matrix.
Now that you've created a mode, you need a way for the web server to activate it.
You may do so by adding a route to the flask application, located in:
ledflag/backend/app.py
First, import the mode you created at the top of the file.
from ledflag.controller.modes.your_mode import *Use the @app.route() decorator to connect your endpoint to a URL. In this example,
the scrolling text mode can be activated through a GET request to /scrolltext. Extract the arguments as necessary
from the request parameters.
# Display scrolling text
@app.route('/scrolltext')
def display_scrolling_text():
    text = request.args.get('text', default="NU Wireless")
    ms.task(Instruction(TextMode, TextArgs(text, 16)))
    return "ok"
Finally, create an Instruction: this takes your mode as the first argument and an instance
of your Args as the second. Send this instruction to the LED controller by invoking ms.task() with your instruction.
Return a status response to let the client know their request was processed.
To add a way for users to easily utilize your mode, add your endpoint to the API. This can be found in the following file:
frontend/src/api/Api.js
Here, a function drawText is added that makes the corresponding request to draw text on the matrix.
const displayText = (text, scrolling=true) => {
  request(scrolling ? "/scrolltext" : "/displaytext", "GET", {text})
    .then(res => console.log(res));
};
You can then create a UI component that uses your API call to activate the mode.
frontend/src/components/DisplayText.jsx
<Form onSubmit={e => {
  e.preventDefault();
  ApiClient().displayText(text);
}}>LED Matrix code can be tested conveniently using a Jupyter notebook. With the ledflag service stopped, navigate to the ledflag folder and run the following command to start the Jupyter notebook server:
$ sudo jupyter notebook --allow-rootUse the link it outputs to test your code in the browser. See the example provided in ledflag/testing/Example.ipynb
(outdated!).
Testing examples will be provided here.
If you would like to run the project in development mode, run these commands from two different shells:
ledflag/backend $ python3 app.pyledflag/controller $ python3 controller.pyThe first command runs the web server, while the second runs the LED controller. A cool trick to do this is running the first command, hitting Ctrl+Z,
and then running the command bg.
To start the project in production mode, start the following services:
$ sudo systemctl start gunicorn.serivce
$ sudo systemctl start ledflag.service
$ sudo service nginx start
Since these services start on boot, you may need to stop them in order to test your own code.