| title | section | sortOrder |
|---|---|---|
Installation |
getting-started |
10 |
Before you proceed with installing TastyIgniter, you should check that your server meets the minimum system requirements.
These are the requirements for your web hosting to run TastyIgniter:
- Apache (with mod_rewrite enabled) or Nginx
- MySQL 5.7+ or MariaDB 10.0.5+ or PostgreSQL 9.6
- PHP 8.0+ with the following extensions: pdo_mysql, curl, openssl, dom, gd, mbstring, json, tokenizer, zip
- Composer 2.0 or higher (for installing dependencies)
TastyIgniter manages its dependencies and extensions using composer. To install the platform, use the create-project command in the terminal to create a project. The command below creates a new project in the directory mytasty.
composer create-project tastyigniter/tastyigniter mytastyAfter running the above command, run the installation command and follow the instructions to complete installation
php artisan igniter:installThe installation command will guide you through the process of setting up TastyIgniter for the first time. It will ask for the database configuration, application URL and administrator details.
Command-line unattended installation
Some installations require an unattended mode so that the application can easily be built into automated infrastructure pipelines and build tools, e.g. Docker.
To run this, its similar to the above command, just instead we provide all of the option values up-front within the
projects
.env and pass the --no-interaction flag to the installation script:
php artisan igniter:install --no-interaction- Download and unzip the TastyIgniter setup wizard into an empty directory on your server.
- Create a MySQL user database for TastyIgniter on your database server.
- Upload the TastyIgniter folders and files to your server. Normally the setup.php file will be at the web root directory.
- Grant write permissions on the setup directory, its subdirectories and files.
- Run the TastyIgniter setup script by accessing setup.php in your web browser. Example, http://example.com/setup.php or http://example.com/folder/setup.php
- Follow all onscreen instructions and make sure all installation requirements are checked.
For security reasons, if you used the Quick Installation Setup Wizard, you should delete the setup files. TastyIgniter will never automatically delete files from your system, so these files and directories should be deleted manually:
setup/      	<== Setup directory
setup.php <== Setup scriptYou should add the following Cron entry to your server for scheduled tasks to function properly. Crontab editing is
usually done with the command crontab -e.
* * * * * php /path/to/artisan schedule:run >> /dev/null 2>&1Be sure to replace /path/to/artisan with the absolute path to the artisan file in your TastyIgniter root directory .
This Cron will call the command scheduler every minute. When executing the schedule:run command, TastyIgniter will
assess your scheduled tasks and run the tasks that are due.
Task Scheduling is how scheduling time-based tasks are managed in TastyIgniter. Several core features of TastyIgniter, such as checking for updates, use the scheduler.
By default, the queue in TastyIgniter is synchronous and will attempt to run tasks such as sending emails in real time.
This behaviour can be set to an asynchronous method by changing the default parameter in the config/queue.php.
If you are using the database queue, it is a good idea to run the queue process as a daemon service. Use the following
command:
php /path/to/artisan queue:workYou can use Supervisor process monitor to automatically restart the queue:work
command if it fails.
For more information on configuring Supervisor and using Queues, consult the Laravel Queue docs.
TastyIgniter has basic configuration that should be applied to your webserver. Common webservers and their configuration can be found below.
There are some extra system requirements if your webserver is running Apache, mod_rewrite should be installed and
enabled and the AllowOverride option should be switched on.
TastyIgniter includes a .htaccess file - make sure it's been uploaded correctly.
You will need to uncomment this line in the .htaccess file in some cases:
## !IMPORTANT! You may need to uncomment the following line for some hosting environments,
## If your installation resides in a subdirectory, enter the name here also
##
# RewriteBase /
If you've created a subdirectory, you can add the subdirectory name as well:
RewriteBase /mysubdirectory/Make sure that .nginx.conf file included with TastyIgniter has been uploaded correctly. Then, assuming you have Nginx
setup, add the following to your server's configuration block:
include /path/to/tastyigniter/.nginx.conf;As an example, your site conf file should look something like:
server {

	listen 80;

	root /path/to/tastyigniter;
	index index.php;

	server_name mytastysite.com;

	gzip             on;
	gzip_proxied     expired no-cache no-store private auth;
	gzip_types       text/plain text/css application/x-javascript application/json application/javascript image/x-icon image/png image/gif image/jpeg image/svg+xml;

	charset utf-8;

	access_log off;

	include /path/to/tastyigniter/.nginx.conf;

}The debug setting is found in the config/app.php configuration file with the debug parameter, and is disabled by
default.
When enabled, this setting will display detailed error messages when they occur along with other debugging functions. Debug mode should always be disabled in a live production site. This prevents the display of potentially sensitive information to the end user.
Important: Always set the
APP_DEBUGsetting to false in production environments.
TastyIgniter offers a simple method to protect your application from cross-site request forgeries.
For every active user session managed by the application, TastyIgniter automatically generates a CSRF "token." This token is used to check that the authenticated user is the one who actually makes the client requests.
Although CSRF security is enabled by default, you can disable it in the config/system.php configuration file using
the enableCsrfProtection parameter.
TastyIgniter core and some marketplace extensions will introduce changes in two stages to ensure overall stability and integrity of the codebase. This means that besides the regular stable versions, they do have a test version.
Replace the default TastyIgniter requirements in your composer.json file with the following to receive updates from
the develop branch directly.
"tastyigniter/flame": "dev-develop as 1.0",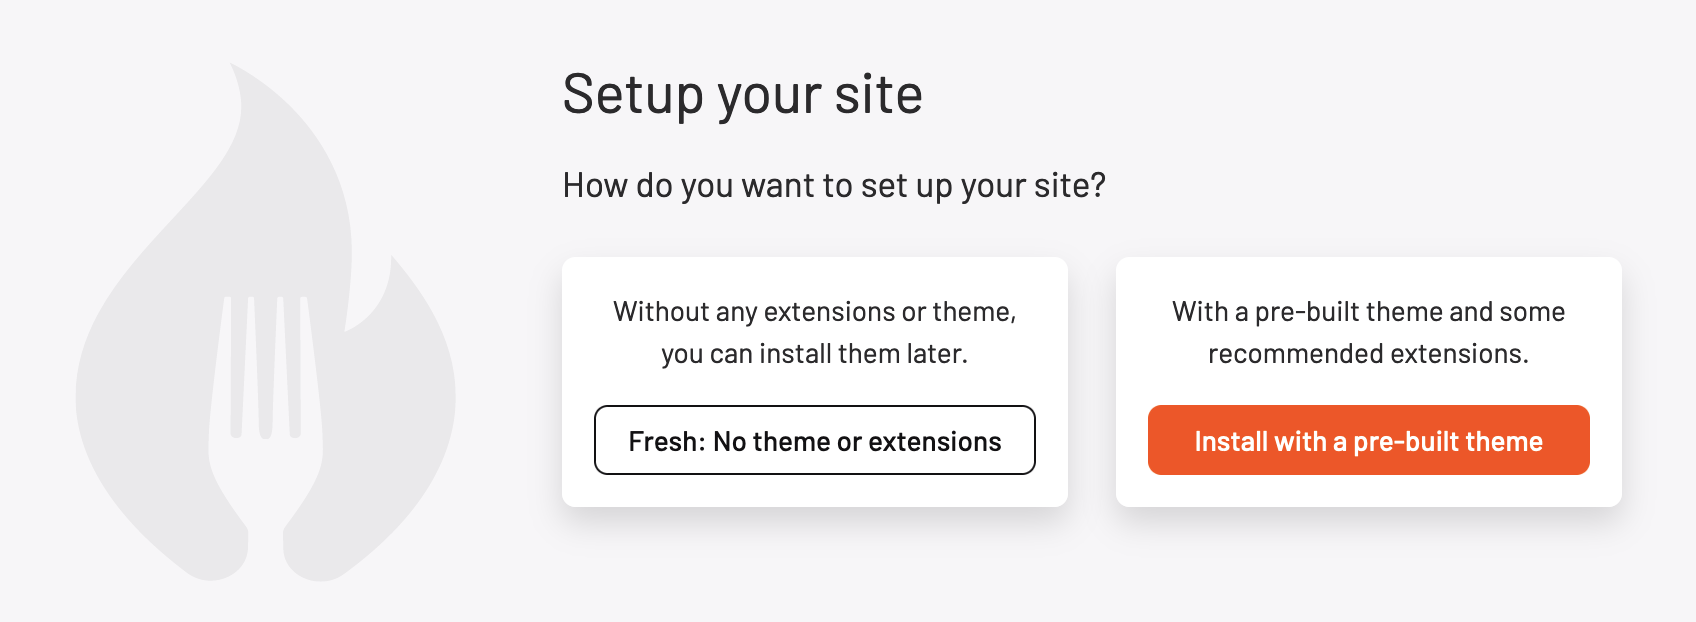
"laravel/framework": "6.0.*@dev",You can access the administrator panel from /admin with your username and password asked during the setup process.
After you've logged in you'll be able to access the administration panel to configure your site.
Follow the getting started steps on the administration panel dashboard.
- If you believe you have found a bug, please report it using the GitHub issue tracker, or better yet, fork the repo and submit a pull request.
- If you have feedback to share, ideas you would like implemented, by all means, share them on the TastyIgniter Community Forums.
- Join us on Discord to chat with us.
- A 404 error page is displayed: This could be a result of the mod_rewrite module not being activated/installed or
configured properly. Activate mod_rewrite for the Apache web-server. If it is already activated, check the root
htaccess file in
/.htaccess, to make sure theRewriteBasevalue is configured properly. - A blank screen is displayed when opening the application: Check the file permissions are set correctly on
the
/storagefiles and folders and writable for the web server. Also check that your files are owned by the correct group and user. - Setup successful but storefront links are not working: Check that the theme's required extensions are all installed.
Note: A detailed installation log can be found in the
setup/setup.logfile.