C19DCCXR: COVID-19 Detection via CNN on Chest X-Rays is a project where I utilize Convolutional Neural Networks (CNN) to detect COVID-19 infections using chest X-ray images. The dataset for this project is sourced from Kaggle, which includes X-ray images of patients with COVID-19, Viral Pneumonia, and Normal. CNNs are employed to automatically extract key features from the X-ray images, allowing the model to identify patterns associated with the infection.
This is my first project in image classification, where I also developed an end-to-end web-based version of the system. The website is accessible via a local network and features a minimalist, user-friendly interface that allows users to upload X-ray images and receive diagnostic results efficiently.
- Web Application: JQuery, Tailwind CSS, Axios, Webpack, Flask
- Experiment: Numpy, Pandas, Scikit-learn, PIL, OpenCV, Torch, Torchvision
These instructions will guide you through installing the project on your local machine for testing purposes. There are two methods of installation, with Docker or manually using Linux or MacOS commands.
This project requires Python 3.10.
Clone this repository
git clone https://github.com/kevin-wijaya/COVID-19-Detection-via-CNN-on-Chest-X-Rays.gitChange the directory to the cloned repository
cd COVID-19-Detection-via-CNN-on-Chest-X-Rays/Run docker compose
docker compose up --buildOpen your web browser and go to the following URL
# http://localhost:8001Clone this repository
git clone https://github.com/kevin-wijaya/COVID-19-Detection-via-CNN-on-Chest-X-Rays.gitChange the directory to the cloned repository and then navigate to the server directory
cd COVID-19-Detection-via-CNN-on-Chest-X-Rays/server/Initialize the python environment to ensure isolation
python -m venv .venvActivate the python environment
source .venv/bin/activateInstall prerequisite python packages
pip install --no-cache-dir -r requirements.txtRun the Flask server
env FLASK_APP=./src/app.py:serve flask run --debug --port=8000 --host=0.0.0.0Open new terminal and change the directory to the cloned repository and then navigate to the client directory
# replace the /path/to/your/ with the path where your cloned repository is located
cd /path/to/your/COVID-19-Detection-via-CNN-on-Chest-X-Rays/client/
Change the directory to the production folder
cd .dist/Run the Python HTTP server
python -m http.server 8001 --bind 0.0.0.0Open your web browser and go to the following URL
# http://localhost:8001To use this web application is easy, follow these 3 steps:
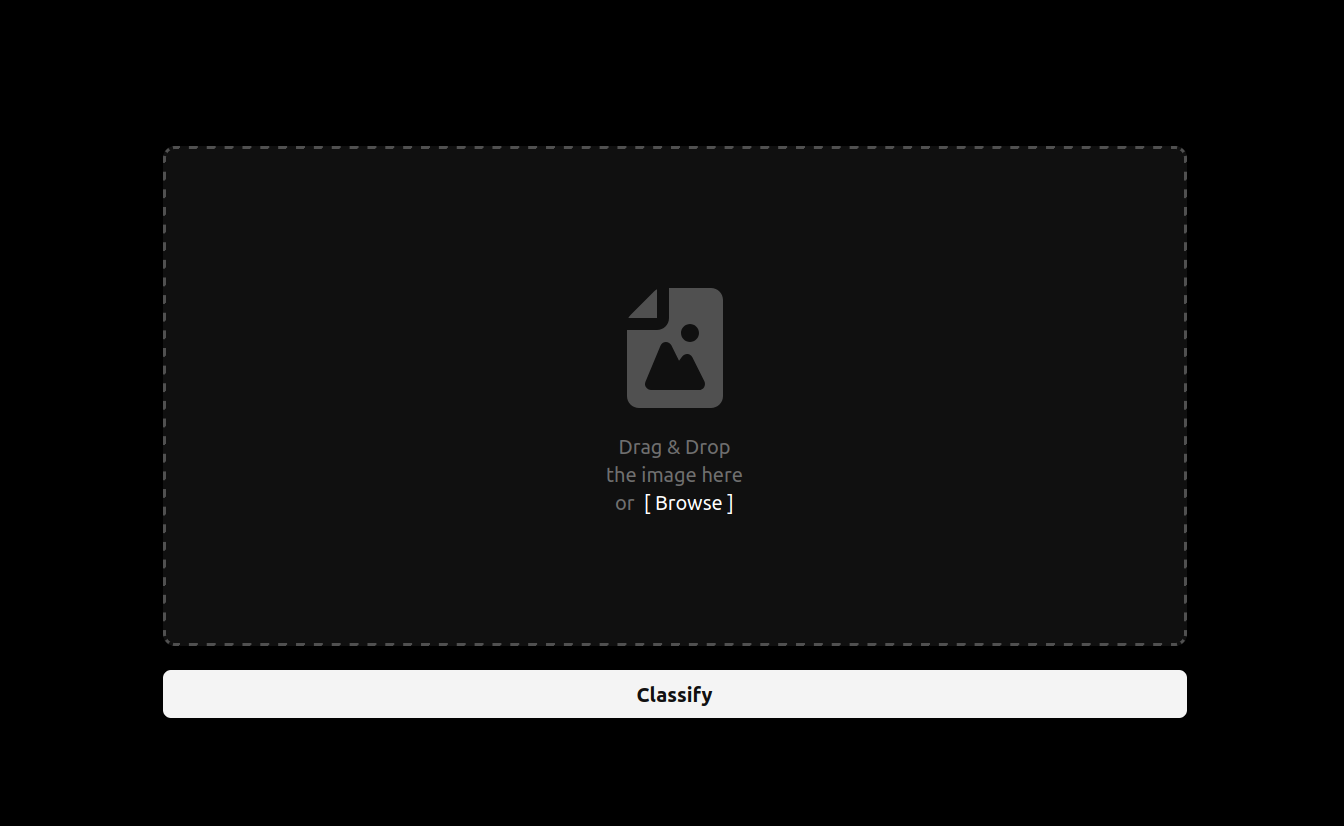
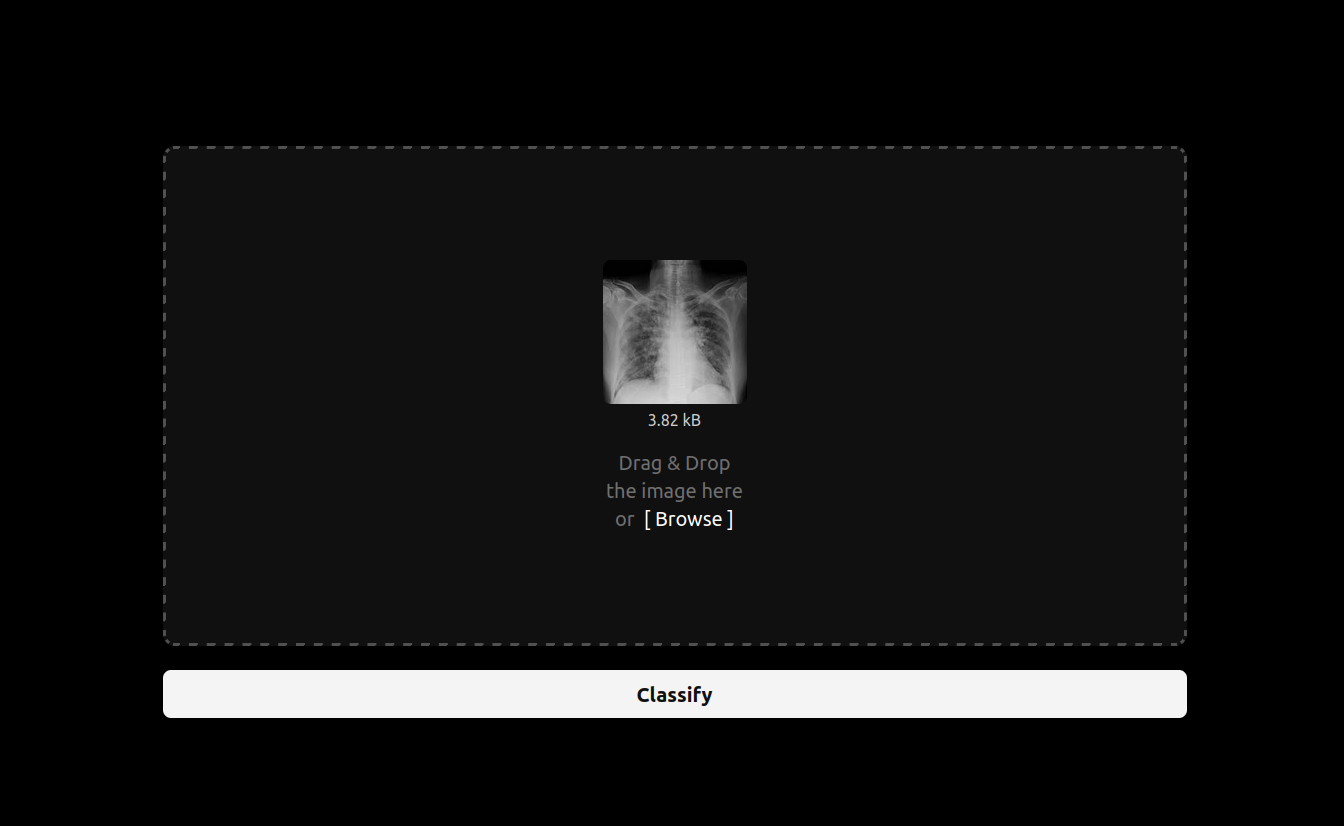
- Upload Image: Upload your image by either dragging and dropping it into the designated area or by browsing your files.
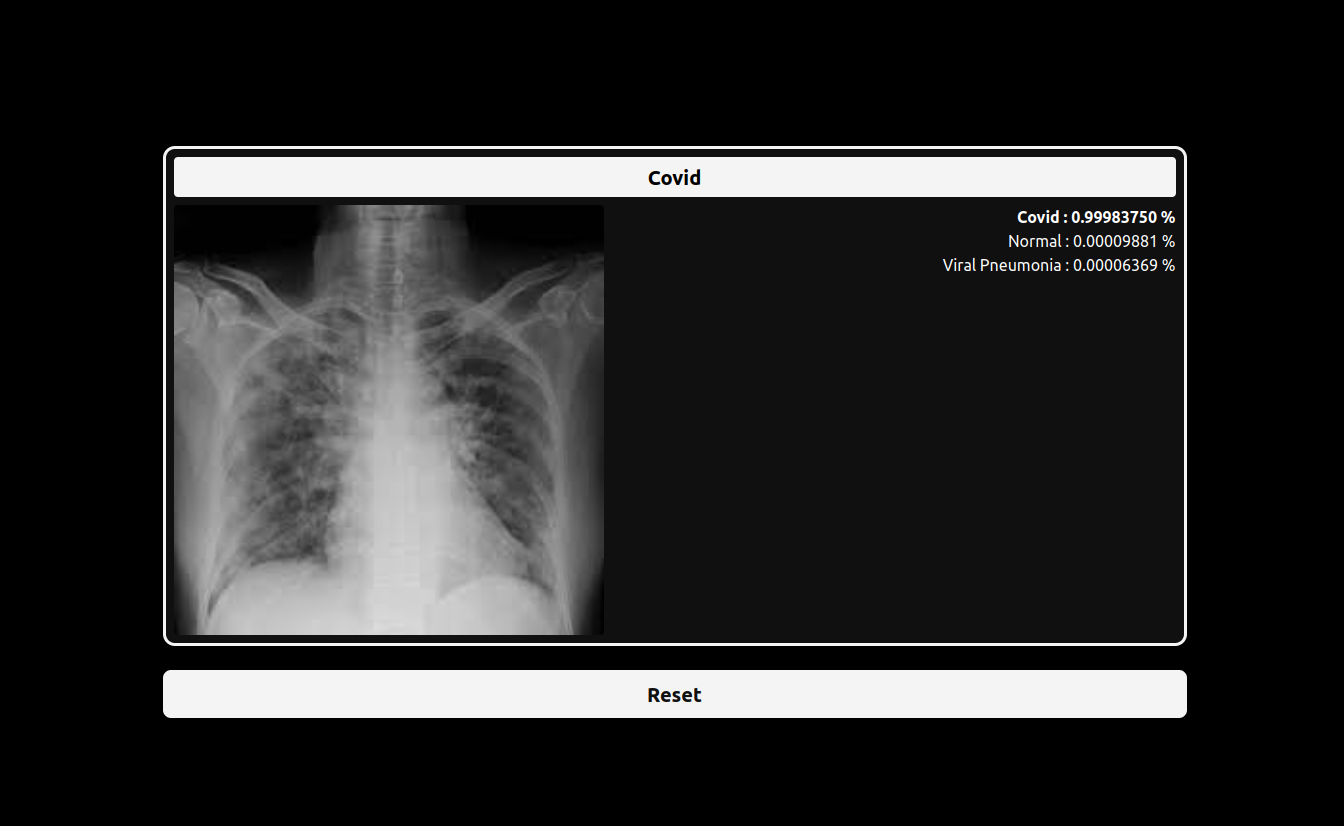
- Classify: Click the "Classify" button, and the system will provide the diagnostic result based on the uploaded image.
Below are a graphic and table presenting the evaluation metrics from the experiments conducted:
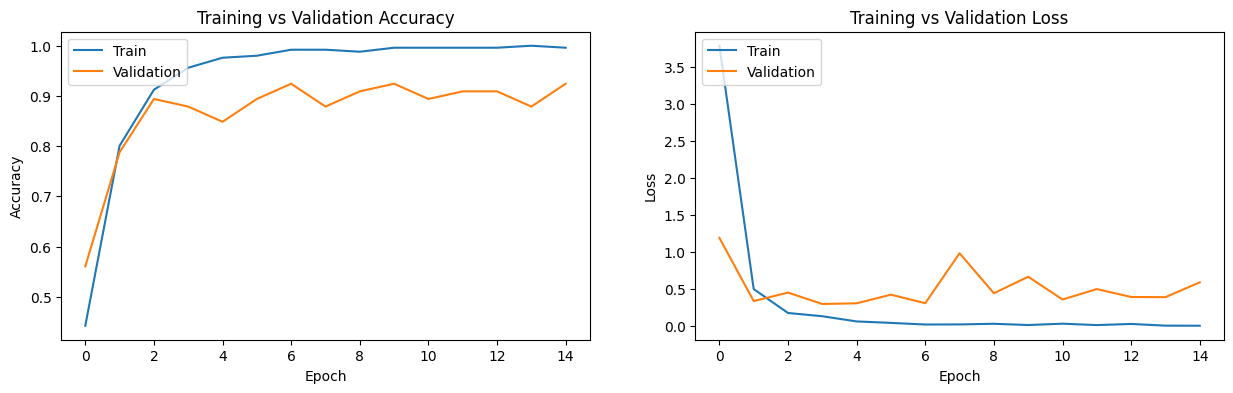
| Epoch | Train Loss | Train Accuracy (%) | Val Loss | Val Accuracy (%) |
|---|---|---|---|---|
| 1 | 3.791473 | 44.22 | 1.193621 | 56.06 |
| 2 | 0.500658 | 80.08 | 0.338603 | 78.79 |
| 3 | 0.177622 | 91.24 | 0.453176 | 89.39 |
| 4 | 0.133550 | 95.62 | 0.299129 | 87.88 |
| 5 | 0.063360 | 97.61 | 0.308526 | 84.85 |
| 6 | 0.043542 | 98.01 | 0.425044 | 89.39 |
| 7 | 0.021633 | 99.20 | 0.309680 | 92.42 |
| 8 | 0.022873 | 99.20 | 0.985550 | 87.88 |
| 9 | 0.031532 | 98.80 | 0.444390 | 90.91 |
| 10 | 0.014693 | 99.60 | 0.667717 | 92.42 |
| 11 | 0.032846 | 99.60 | 0.359913 | 89.39 |
| 12 | 0.013810 | 99.60 | 0.500779 | 90.91 |
| 13 | 0.029297 | 99.60 | 0.393918 | 90.91 |
| 14 | 0.006256 | 100.00 | 0.391421 | 87.88 |
| 15 | 0.005283 | 99.60 | 0.591877 | 92.42 |
| Class | Precision | Recall | F1-Score | Support |
|---|---|---|---|---|
| Covid | 0.93 | 0.96 | 0.94 | 26 |
| Normal | 0.87 | 1.00 | 0.93 | 20 |
| Viral Pneumonia | 1.00 | 0.80 | 0.89 | 20 |
| Accuracy | 0.92 | 66 | ||
| Macro Avg | 0.93 | 0.92 | 0.92 | 66 |
| Weighted Avg | 0.93 | 0.92 | 0.92 | 66 |
Here are some screenshots of the application:
- Kevin Wijaya